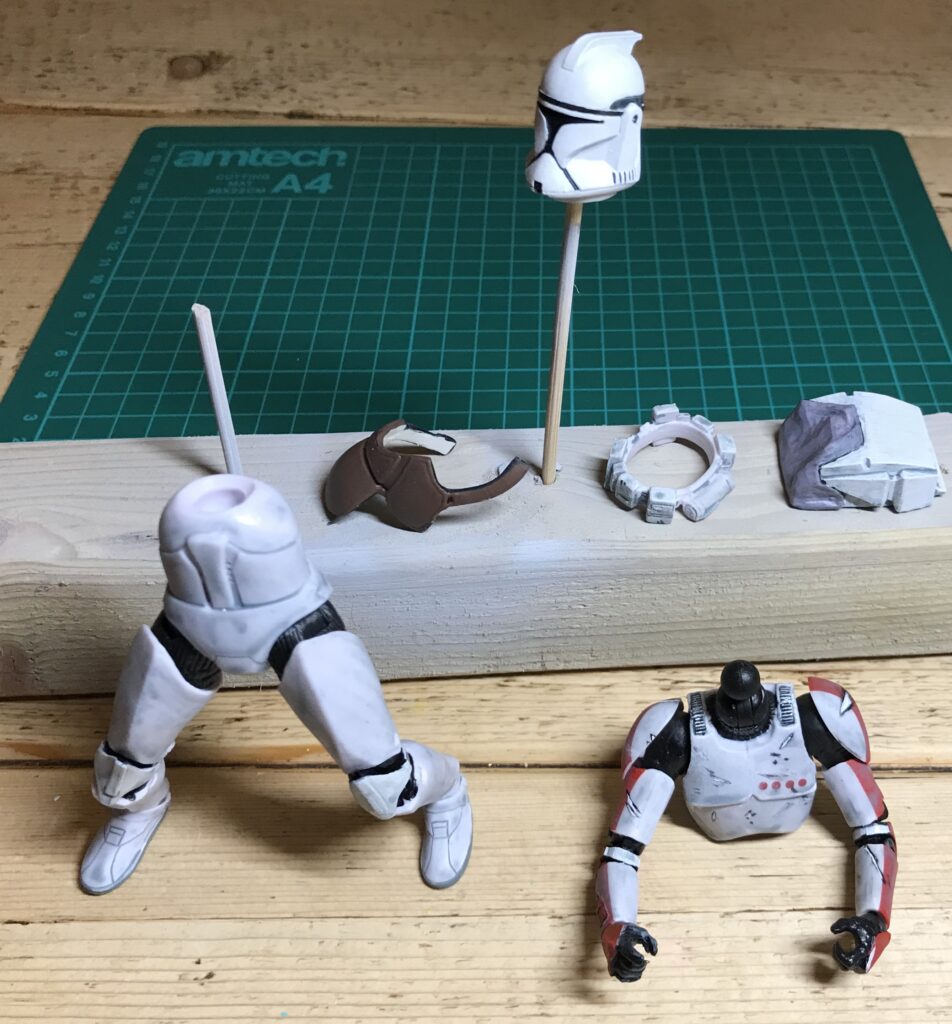
With UK release for the ORT Black Series Custom parts and accessories, we wanted to put together a brief on how to prep and paint your new custom pieces. It’s not as hard as you might think.
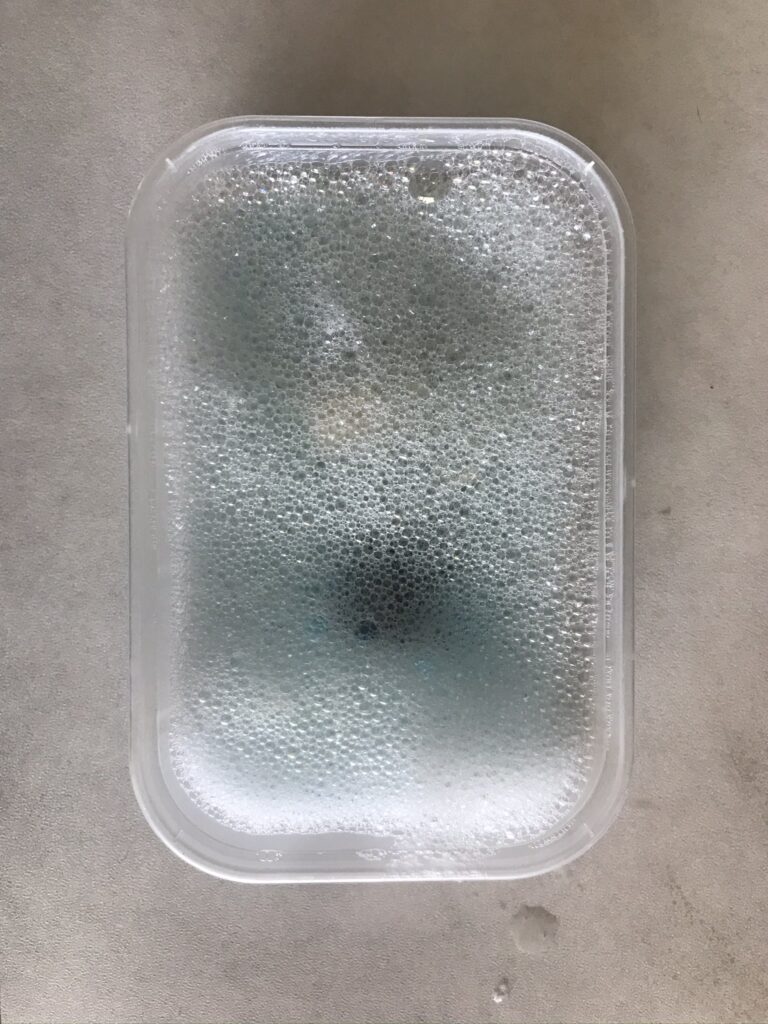
Step 1 – Wash
You’ll need to take off any residue left from the crafting process with some washing up liquid and warm water. Make sure it’s completely dry before step 2.
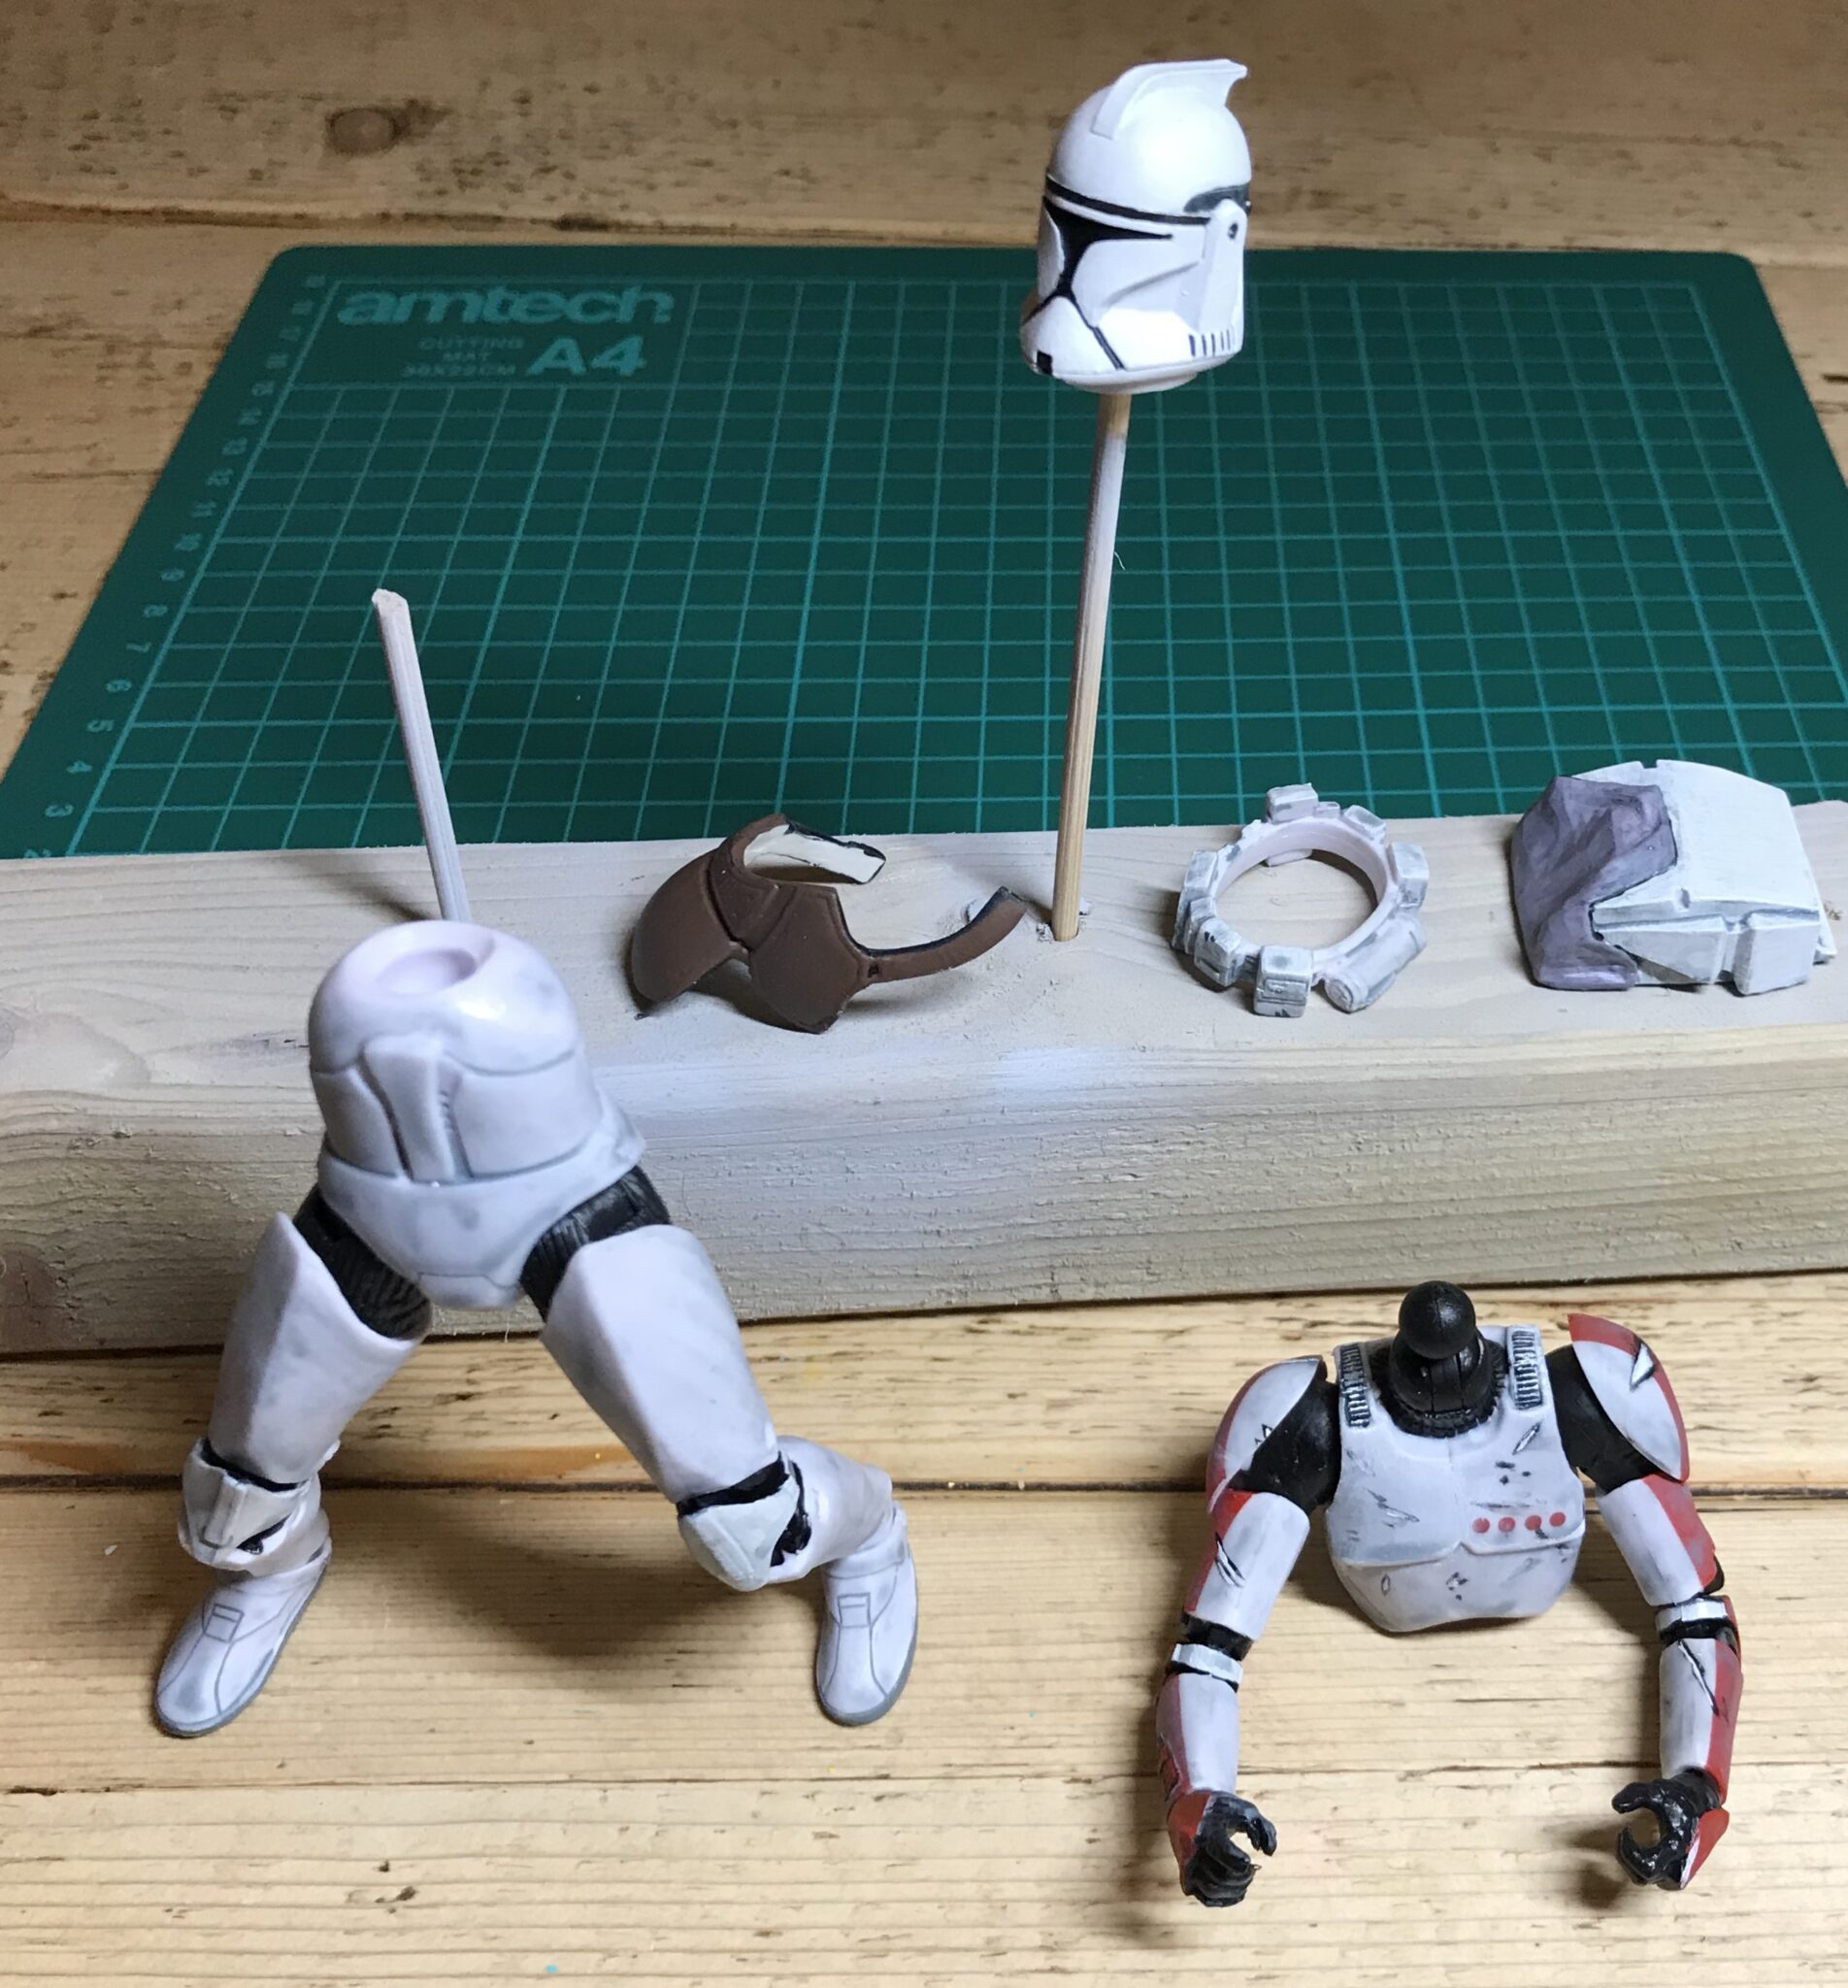
Step 2 – Trim
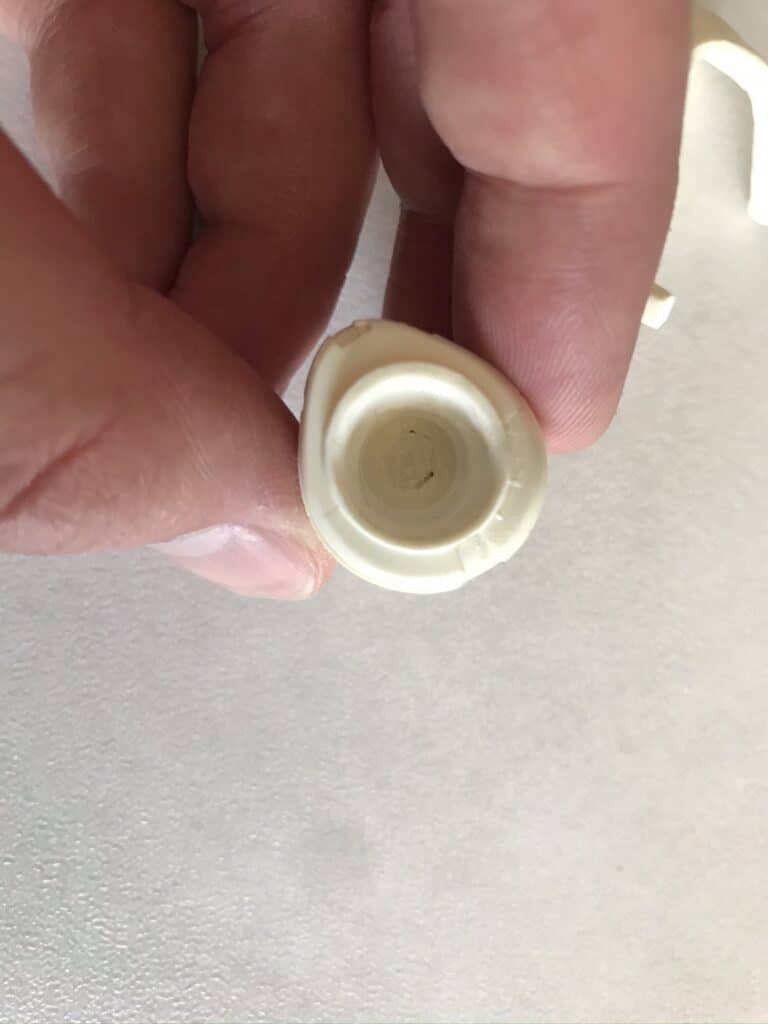
Depending on the figure, some parts may need slight alterations. A hand tool, like a Dremel is easy to use and quick. We’ve found the grinding stone particularly good for more in-depth jobs, such as widening openings on helmets or heads. Be warned, they work quickly so make small adjustments, check and go again as you don’t want to over do it.
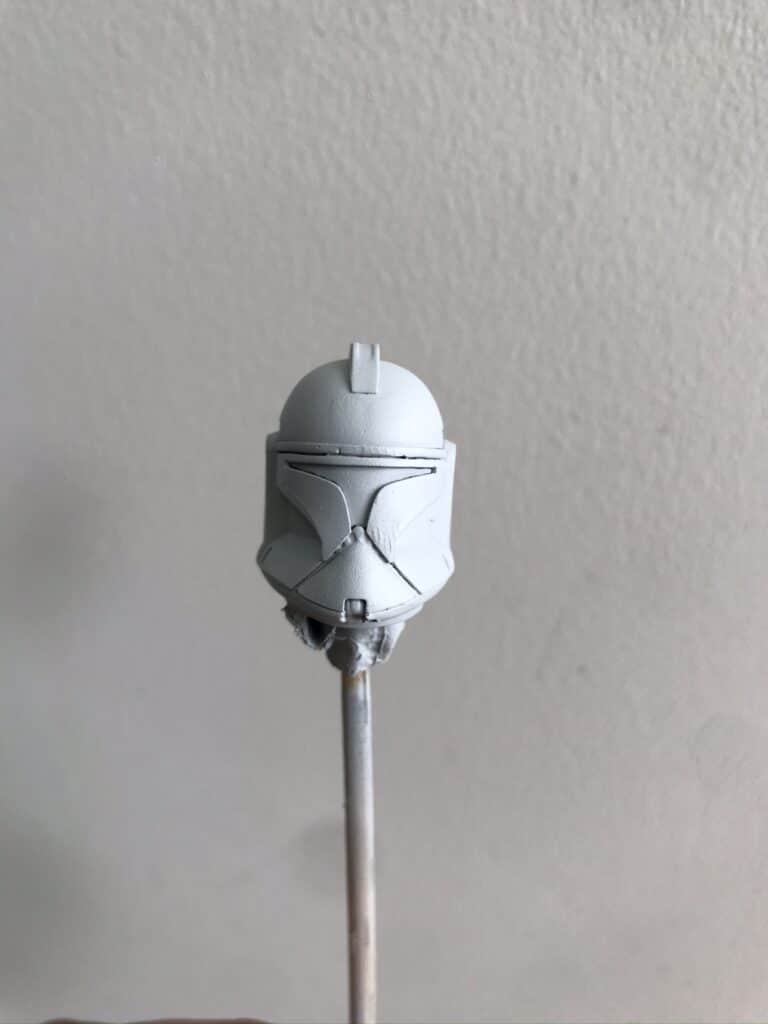
Step 3 – Prime
Before adding any paint, you’ll need to prime it. We’d suggest GW Citadel Corax white or Chaos black spray. If you are going with a light colour scheme then use a lighter primer, dark colours then use the black.
You are better off using a couple of light coats, rather than one heavy coat to make sure you don’t lose any of the details.
Step 4 – Start painting!
Use acrylic paints for the best finish, not oil based. If you want a good paint job then use quality modelling brands like Model Masters, Citadel or Vallejo. And you’ll need some quality brushes!
The Citadel Contrast paints are a great way to get some depth going without multiple layers and give you a good base to work from. Plus, you can paint it straight on the primer coat. It will take some practice but you’ll get the hang of it quickly. With acrylic paints, you can remove any mistakes with some water if you get on it quickly, worst case you can always paint over.
If you want crisp paint lines, particularly on armour then use masking tape to outline the paint areas.
Step 5 – Varnish
Once you’ve finished your perfect paint job then you’ll want to add a varnish to protect the paint. You can use Matt or gloss varnish, depending on the finish you want.